
The moment you unbox a new virtual reality headset is filled with excitement and anticipation. Visions of epic gaming battles and immersive digital worlds dance in your head. But between that initial thrill and a truly seamless VR experience lies a critical setup process that marketing materials often gloss over. This is your reality check. With the rise of accessible and powerful devices like the Meta Quest 3, more people than ever are taking their first steps into VR. This guide is designed to bridge the gap between expectation and reality, ensuring your initial foray into the virtual realm is breathtaking, not baffling. We will walk you through everything from preparing your physical space to protect yourself and your home, to the nitty-gritty of device calibration for maximum comfort and clarity. We will also tackle the infamous VR sickness head-on with practical tips, guide you toward your first amazing experiences, and discuss how to build healthy habits for long-term enjoyment. Welcome to your essential first-time VR setup guide.
Preparing your physical reality for a virtual one
Before you even put on the headset, your most important task is to prepare your physical environment. This is not just a suggestion; it is a critical safety requirement. Virtual reality is incredibly immersive, which means your awareness of your real-world surroundings will completely disappear. The primary tool for safety is the ‘guardian’ or ‘play space’ boundary system. During setup, your device will ask you to ‘paint’ a boundary on your floor, creating a virtual wall that appears when you get too close to the edge of your designated area. For a ‘roomscale’ experience, where you can physically walk around, most systems recommend a minimum clear space of about 6.5 feet by 6.5 feet. If you have less space, you can always opt for a ‘stationary’ mode, which creates a smaller bubble around you. It is vital to be thorough when clearing this area. Remove coffee tables, chairs, floor lamps, and any tripping hazards like rugs or cables. Also, be mindful of overhead obstacles like ceiling fans or low-hanging lights. A common VR injury comes from an enthusiastic upward swing during a game like Beat Saber. Informing family members or roommates that you are entering VR is also a good practice, and you should ensure pets are kept out of the room to prevent accidental trips or collisions. Taking ten minutes to properly secure your play space is the single best investment you can make for a safe and enjoyable VR session. It prevents broken controllers, damaged furniture, and most importantly, personal injury.
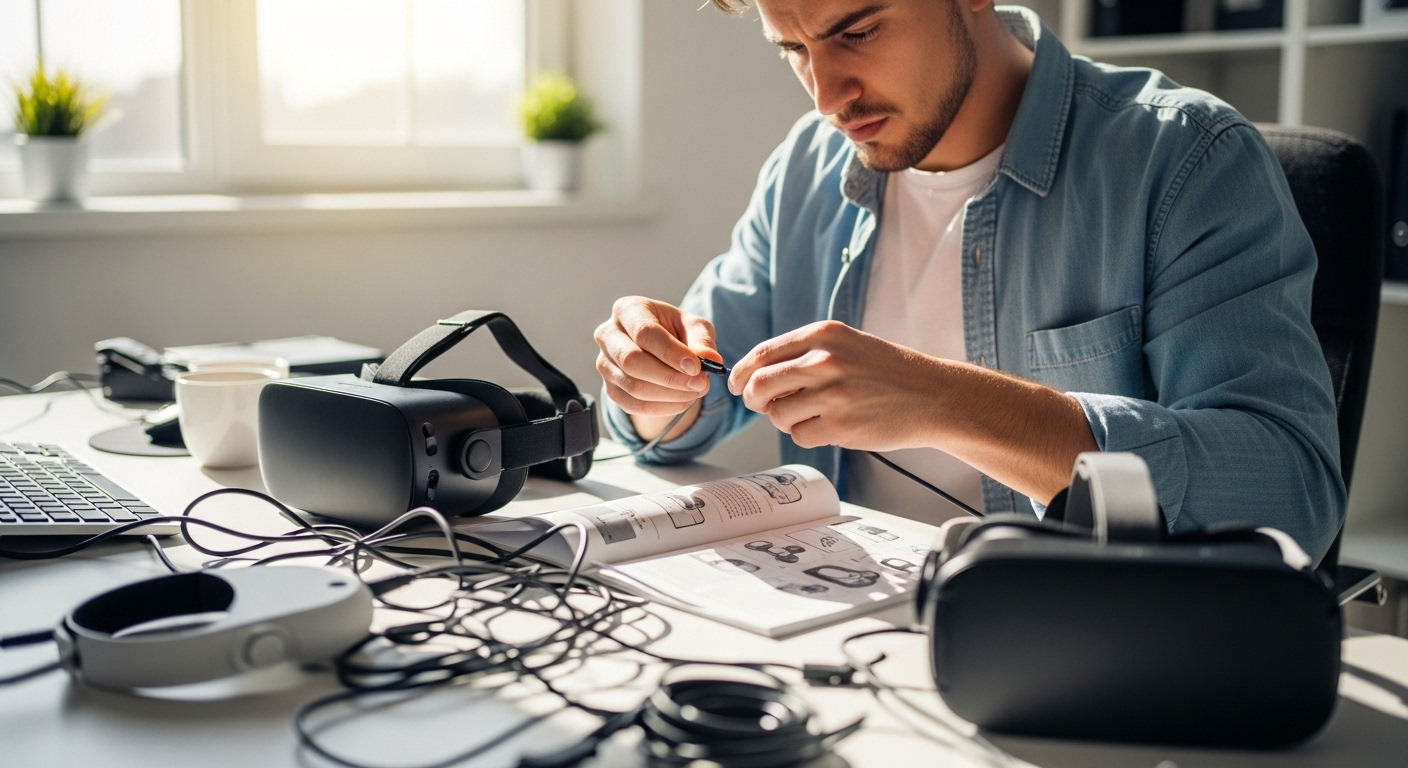
The crucial first steps unboxing and initial setup
Once your space is clear, the technical setup begins. The first thing you should do with any new VR headset is plug it in to charge. The same goes for the controllers. Many devices arrive with only a partial charge, and nothing is more frustrating than having to stop mid-setup because the battery died. While it is charging, you will likely need to download a companion app on your smartphone, such as the Meta Quest app for Quest devices. This app is essential for pairing the headset to your account, managing your library, and adjusting certain settings. After the headset has enough power, turn it on and follow the on-screen instructions. Be prepared for a mandatory software update. These initial updates can be quite large and may take a significant amount of time, from 30 minutes to over an hour, depending on your internet speed. This is a perfect time to grab a drink and be patient. Do not be tempted to turn the device off during this process. Once the update is complete, the system will guide you through pairing your controllers and setting up your aforementioned play space boundary. Take your time with this process. A well-defined guardian is your best friend in VR. The initial tutorials, like ‘First Steps’ on the Quest platform, are not just for fun; they are designed to teach you how to interact with the virtual world, use your controllers, and navigate menus. Completing these introductory experiences is highly recommended before you jump into more complex games.
Calibrating for clarity and comfort
A poorly fitted headset is the fastest way to a bad VR experience. Discomfort, headaches, and blurry visuals can often be traced back to improper calibration. The two most important adjustments are the head strap and the interpupillary distance or IPD. The IPD is the distance between the centers of your pupils, and matching the headset’s lenses to your IPD is critical for a sharp, focused image. An incorrect IPD setting can cause eye strain and make the virtual world look slightly ‘off’ or blurry. Most modern headsets like the Quest 3 have a small wheel or slider to adjust this. A good technique is to close one eye, adjust the IPD until the image is perfectly sharp for your open eye, and then switch eyes to confirm. You can find your IPD measurement at an optometrist, or use an app with your phone’s camera to get a close estimate. Next is the head strap. The headset should feel secure but not overly tight. The weight should be distributed evenly, not all resting on your cheeks or forehead. The top strap is key; it should take most of the vertical weight, allowing the side straps to simply hold the device in place. You should be able to look down without the headset sliding forward. If you wear glasses, check if your headset came with a glasses spacer to provide extra room. Many users also invest in third-party ‘elite’ straps or comfort kits, which can significantly improve balance and reduce facial pressure for longer play sessions. Fine-tuning these settings can transform VR from a novelty into a comfortable, sustainable hobby.
Product Recommendation:
- KIWI design Upgraded Face Cushion Fitness Accessories Compatible with Quest 2, with Facial Interface Leather Pad 2, Cloth Sports Pad, Glasses Spacer, and Lens Protector, Air-Circulation Design
- USB C to C Cable, 3.2 Gen 2 USB-C Cable 3.3ft – 4K UHD 20Gbps 100W PD Fast Charging Cable for MacBook Pro, for iPad Pro, Nylon Braided, Black.
- Meta Quest Pro
- AMZDM Controller Grip for Oculus Quest 2 Accessories Grips Cover for VR Touch Controllers Covers Protector with Non-Slip Thumb Grips 1Pair Black
- iovroigo Adjustable Halo Strap for Oculus Quest 2 VR,Increase Supporting force and improve comfort-Virtual Reality Accessories
Navigating the dreaded VR sickness
Let’s address the elephant in the room; virtual reality sickness. This form of motion sickness is real and can affect many new users. It happens when your eyes perceive motion that your inner ear does not, creating a sensory mismatch that your brain interprets as a sign of poisoning. Symptoms can include nausea, dizziness, sweating, and a general feeling of unease. The good news is that for most people, it is manageable and often subsides over time as you develop your ‘VR legs’. The key is to start slow and listen to your body. The moment you begin to feel even slightly unwell, stop. Take the headset off, have some water, and do not try to ‘push through it’, as this will only make it worse and can create a negative association with VR. When you are just starting, stick to experiences with little to no artificial movement. These are often called ‘stationary’ or ‘teleportation’ based games, where you stand in one spot or point to a new location to move instantly. Avoid games with ‘smooth locomotion’ where you move with a joystick, as this is the most common trigger. Many VR stores have comfort ratings for their games and apps; stick to the ‘Comfortable’ ratings at first. Other practical tips include aiming a fan at your face to provide airflow and a sense of direction, chewing on ginger candy, and taking frequent breaks, even if you feel fine. Do not attempt a multi-hour gaming session on your first day. By gradually increasing your time in VR and choosing your initial experiences wisely, you can build a tolerance and eventually enjoy all that VR has to offer without discomfort.
Your first steps into the metaverse what to do now
With your headset configured and your VR legs under you, a vast universe of content awaits. But the sheer volume of options can be overwhelming. So, where should you start? The best entry points are often the free, polished experiences designed specifically for new users. On the Quest platform, apps like ‘First Steps’ and ‘First Encounters’ are must-plays. They are short, interactive, and do an excellent job of showcasing what the technology is capable of. Beyond these intros, consider exploring social VR platforms. Apps like VRChat and Rec Room are free to download and act as sprawling social hubs where you can meet people from around the world, play mini-games, or just hang out. They offer a glimpse into the ‘metaverse’ concept and are a great way to get comfortable interacting in a virtual space. When you are ready for games, start with titles that are known for being beginner-friendly and highly rated. Beat Saber is a rhythm game that is intuitive and physically engaging. Walkabout Mini Golf offers a relaxing and social experience with simple teleportation movement. Superhot VR is a unique action game where time only moves when you do, which helps mitigate motion sickness. Exploring 360-degree videos on YouTube VR or dedicated apps can also be a fantastic, low-intensity way to experience immersive environments, from the top of Mount Everest to the depths of the ocean. The key is to sample a variety of genres to discover what you enjoy most.
Long-term care and building good habits
To ensure your VR headset provides enjoyment for years to come, a little bit of care and some good habits go a long way. The most delicate part of your headset is the lenses. Never clean them with a paper towel, a t-shirt, or harsh chemical cleaners. Always use a dry, clean microfiber cloth, the same kind you would use for eyeglasses. Start from the center of the lens and wipe in a circular motion outwards. Equally important is to keep the lenses away from direct sunlight. The lenses can act like a magnifying glass and concentrate sunlight onto the internal displays, causing permanent burn damage within seconds. Always store your headset in its box, a dedicated case, or with a lens cover on, away from windows. Battery health is another consideration. While it is tempting to leave your headset plugged in, it is generally better for the long-term health of the lithium-ion battery to not keep it at 100% charge constantly. Many users adopt a habit of charging it before a play session rather than after. Finally, establish good personal habits. Remember to take regular breaks, at least 15 minutes for every hour of play, to rest your eyes and body. Stay hydrated. VR can be more physically demanding than you expect. By treating your device with care and being mindful of your own well-being, you will set yourself up for a long and happy relationship with virtual reality.
In conclusion, your journey into virtual reality is an exciting one, but it is a path best traveled with a bit of preparation and knowledge. This reality check serves not to diminish the magic, but to enhance it by removing the common frustrations that trip up many first-time users. By diligently preparing your physical play space, you ensure a safe and accident-free experience. Taking the time to properly calibrate your headset’s fit and lens distance is the secret to unlocking true comfort and visual clarity. Understanding and respecting the causes of VR sickness allows you to acclimate at your own pace, building your ‘VR legs’ for more advanced adventures down the line. Starting with curated beginner experiences prevents you from getting lost in a sea of content and helps you discover what you truly enjoy. Finally, adopting simple habits for device care and personal well-being guarantees that your investment continues to pay dividends in amazing experiences for years. The initial setup is a small hurdle, but once you are over it, a universe of breathtaking, mind-bending, and truly unforgettable worlds is waiting for you. Welcome to the future of play.