
The world of makeup is ever-evolving, with new techniques and trends constantly emerging. But some core skills remain timeless. Among these, contouring stands out as a transformative technique that can sculpt and define facial features. In 2025, the focus is shifting towards natural-looking contouring, moving away from the heavy, dramatic styles of the past. This blog post will guide you through an essential makeup tutorial for achieving a sculpted yet natural look, perfect for everyday wear or special occasions. We’ll explore the tools, techniques, and products needed to master this art. From understanding your face shape to blending like a pro, get ready to unlock the secrets of subtle sculpting. This guide will cover everything from the basics of contouring to advanced blending techniques.
Understanding Your Face Shape
Before diving into the actual contouring process, it’s crucial to understand your face shape. Different face shapes require different contouring techniques to achieve the most flattering results. Common face shapes include oval, round, square, heart, and diamond. An oval face is considered balanced and can handle most contouring styles, while a round face benefits from contouring along the temples and jawline to add definition. Square faces can be softened by contouring the corners of the forehead and jawline, and heart-shaped faces can be balanced by contouring the chin. Diamond faces typically require contouring at the cheekbones to enhance their natural structure. Understanding your face shape is the first step to achieving a naturally sculpted look. Experimenting in front of a mirror and taking note of your unique features will help you tailor the contouring process to your specific needs. Remember, makeup is about enhancing your natural beauty, not masking it.
Choosing the Right Products and Tools
Selecting the right products and tools is essential for achieving a natural contour. Cream, powder, and stick formulas are available. Cream contours provide a dewy finish and are best applied with a damp sponge or your fingertips. Powder contours offer a matte finish and are ideal for oily skin, and they work well with a fluffy brush. Stick contours are convenient for on-the-go application and can be blended with a brush or sponge. When choosing a contour shade, opt for a color that is two to three shades darker than your natural skin tone. Avoid shades that are too warm or orange, as these can look unnatural. Cool-toned shades mimic natural shadows and create a more realistic sculpted effect. As for tools, invest in a good-quality contour brush with angled bristles for precise application. A blending sponge is also essential for seamlessly blending the contour into your skin. Remember, the key to a natural contour is to use the right products and tools and to blend, blend, blend!
Step-by-Step Contouring Tutorial
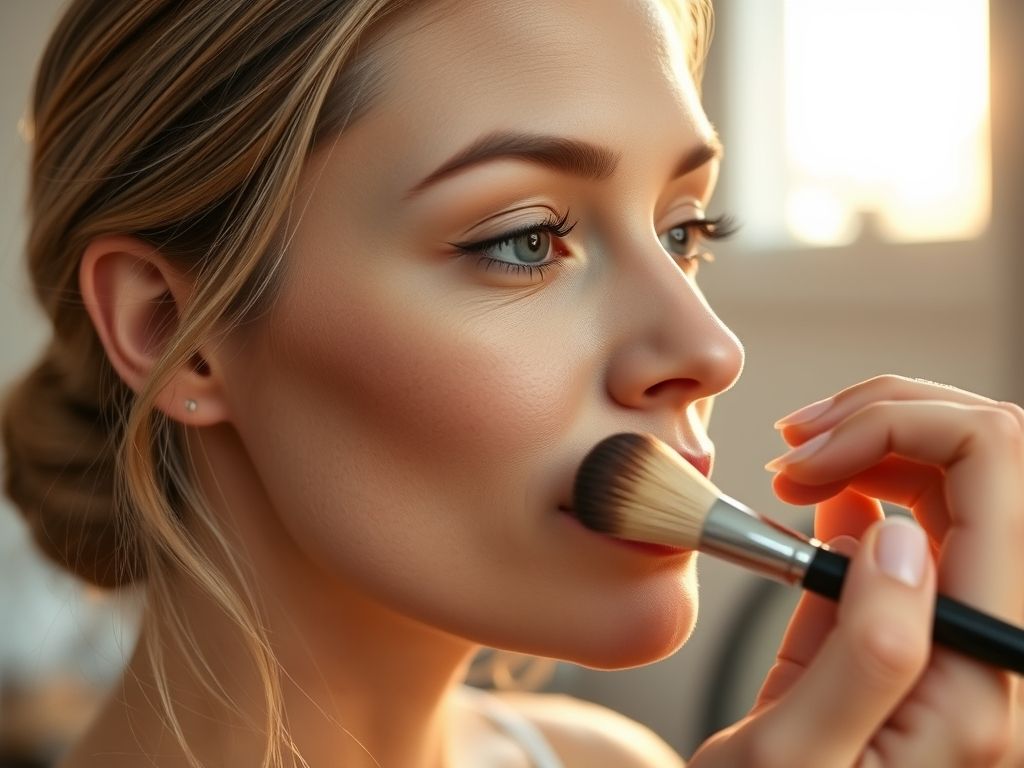
Now, let’s get into the step-by-step contouring tutorial. Start by prepping your skin with moisturizer and primer. Apply your foundation and concealer as usual. Next, using your chosen contour product and tool, begin applying the contour to the hollows of your cheeks. To find the hollows, suck in your cheeks. Apply the contour along the natural shadow that appears. Blend the contour upwards towards your hairline using small, circular motions. Then, apply contour along your temples, starting at your hairline and blending downwards towards your eyebrows. If you want to define your jawline, apply contour along the underside of your jaw, blending downwards into your neck. Finally, contour along the sides of your nose to make it appear slimmer. Use a small, tapered brush for this step to ensure precision. Remember to blend each area thoroughly to avoid harsh lines. The goal is to create subtle shadows that enhance your natural features.
Product Recommendation:
- Marsui 4 Pcs Diamond Painting Compact Mirror DIY Painting Pocket Portable Folding Purse Mirror for Women Diamond Art Mom Gifts for Mother’s Day Nurse Week Party Favors(Animal Skin)
- Wesiti 24 Sets Baby Shower Favors for Adults 2.76” Compact Mirrors Bulk with Thank You Cards Organza Bags Pocket Makeup Mirrors for Bridal Wedding Gender Reveal Party Gifts
- OCHEAL Rolling Makeup Train Case,with 7 Pcs Clear Makeup Bags, 18 Carry On Travel Cosmetic Organizer Suitcase,Extra Large Storage Trolley Makeup Case On Wheels for Hairstylist Cosmetology Artist
- Funny Duck Pun Makeup Bag Sarcastic Animal Adult Humor Cosmetic Bag Novelty Gifts Funny Gifts for Women Duck Lovers Best Friends Coworkers Sisters Christmas Birthday Gifts Travel Toiletry Bag
- Sazuwu Beach Lover Gifts for Women Clear Makeup Bags with Zipper Fun Beach Gifts for Girls Trip Beach Themed Gifts for Adults Cosmetic Travel Bag Organizer Beach Vacation Gifts from Travel Agent
Highlighting to Enhance Your Sculpt
Highlighting is just as important as contouring when it comes to sculpting a natural look. Highlighting helps to bring light to the high points of your face, creating dimension and balance. Apply highlighter to the tops of your cheekbones, the bridge of your nose, the center of your forehead, and the cupid’s bow. You can use a powder, cream, or liquid highlighter, depending on your preference. Choose a shade that is slightly lighter than your skin tone, and avoid shades that are too glittery or shimmery, as these can look unnatural. Apply the highlighter sparingly, and blend it well into your skin. The goal is to create a subtle glow that enhances your features. Highlighting is the perfect way to add a touch of radiance to your sculpted look.
Blending Techniques for a Seamless Finish
Blending is the key to a natural-looking contour. Harsh lines are a dead giveaway of poorly applied makeup. To achieve a seamless finish, use a damp blending sponge or a soft brush to blend the contour and highlighter into your skin. Use small, circular motions, and blend in the direction of your hair growth. Pay special attention to the edges of the contour and highlighter, ensuring that they fade seamlessly into your skin. If you accidentally apply too much contour or highlighter, don’t panic. Simply use a clean brush or sponge to blend away the excess product. You can also use a light dusting of translucent powder to set your makeup and further blend the contour and highlighter. Remember, practice makes perfect when it comes to blending. The more you practice, the better you’ll become at achieving a flawless, natural-looking contour.
Setting and Finishing Touches
Once you’ve finished contouring and highlighting, it’s important to set your makeup to ensure that it lasts all day. Use a light dusting of translucent powder to set your foundation, concealer, contour, and highlighter. Pay special attention to areas that tend to get oily, such as your forehead, nose, and chin. You can also use a setting spray to further lock in your makeup and create a dewy finish. For the finishing touches, apply your blush, eyeshadow, mascara, and lipstick as usual. Step back and take a look at your overall makeup. Make any necessary adjustments to ensure that everything looks balanced and harmonious. With a little practice, you’ll be able to achieve a naturally sculpted look that enhances your natural beauty. Remember, makeup is about having fun and expressing yourself. Don’t be afraid to experiment and try new things.
In conclusion, mastering the art of natural contouring involves understanding your face shape, choosing the right products and tools, and perfecting your blending techniques. By following this essential makeup tutorial, you can achieve a sculpted yet natural look that enhances your features without looking overdone. Remember to focus on creating subtle shadows and highlights that mimic the natural contours of your face. As makeup trends continue to evolve, the emphasis on natural beauty remains constant. Embrace your unique features and use contouring as a tool to enhance, not mask, your natural beauty. With practice and patience, you’ll be able to confidently create a flawless, sculpted look that turns heads wherever you go. So go ahead, grab your contour brush and start sculpting!