
In an era dominated by screens, parents and educators face a unique challenge. How do we introduce children to essential skills like coding without increasing their screen time? The answer may lie not in a new app, but in a simple cardboard box. Welcome to the world of unplugged coding, a hands-on approach that teaches the fundamental logic of programming through tangible, playful experiences. This movement is about more than just reducing screen exposure; it’s about fostering creativity, problem-solving, and what experts call ‘computational thinking’. By using everyday materials, we can build engaging toys that demystify concepts like sequencing, loops, and debugging in a way that is intuitive for young minds. This guide will walk you through the simple steps to create your very own ‘cardboard coder’, a screen-free programming toy that proves learning can be both high-tech in concept and refreshingly low-tech in execution. We will explore the power of unplugged coding, gather our simple materials, build a robot, design command cards, and finally, write our very first programs.
Understanding the power of unplugged coding
The concept of unplugged coding is gaining significant traction in early childhood education, and for good reason. It strips away the complex interfaces of computers and tablets to focus on the core principles of programming logic. This approach is rooted in the idea of kinesthetic learning, where children learn by doing and physically interacting with concepts. When a child lays out a sequence of arrow cards to guide a cardboard robot, they are physically building an algorithm. They are engaging their spatial awareness and motor skills in a way that a drag-and-drop interface on a screen simply cannot replicate. This tangible interaction makes abstract ideas concrete and memorable. More importantly, it develops computational thinking. This isn’t about learning a specific programming language like Python or Java; it’s about learning to think like a programmer. It involves breaking down large problems into smaller, manageable steps, recognizing patterns, and developing solutions step-by-step. These are universal problem-solving skills that are valuable in every aspect of life, not just in computer science. Unplugged activities also encourage collaboration and communication. Children can work together to design a maze, write a program for their robot, and ‘debug’ it when it goes off course, all while talking through their logic and ideas. It transforms a typically solitary activity into a social and creative one.
Gathering your simple coding toolkit
The beauty of the cardboard coder project lies in its accessibility. You don’t need expensive kits or specialized components. Most of the materials are likely already in your home, waiting to be repurposed into a powerful learning tool. This not only makes the project affordable but also provides a great lesson in resourcefulness and sustainability. Before you begin, take a moment to gather your toolkit. The star of the show is, of course, cardboard. A few small to medium-sized boxes are perfect. Cereal boxes, shoe boxes, or shipping boxes will all work wonderfully. You will also need a reliable cutting tool. A pair of sturdy scissors is essential, and for thicker cardboard, a craft knife can be helpful (this should always be used with adult supervision). To bring your creations to life, you’ll want a set of colorful markers or pens. These will be used to decorate your robot and create your command cards. Don’t forget a roll of tape or a glue stick to hold your cardboard constructions together. Finally, consider some optional ‘flair’ items. Things like bottle caps for wheels, googly eyes for personality, or craft sticks for arms can add a wonderful touch of character to your cardboard coder. The goal is to assemble a simple, versatile set of materials that invites creativity. There are no strict rules here, so feel free to improvise and use whatever you have on hand. This process of ‘making do’ is a valuable part of the engineering design process you are about to embark on.
Building your first cardboard coder robot
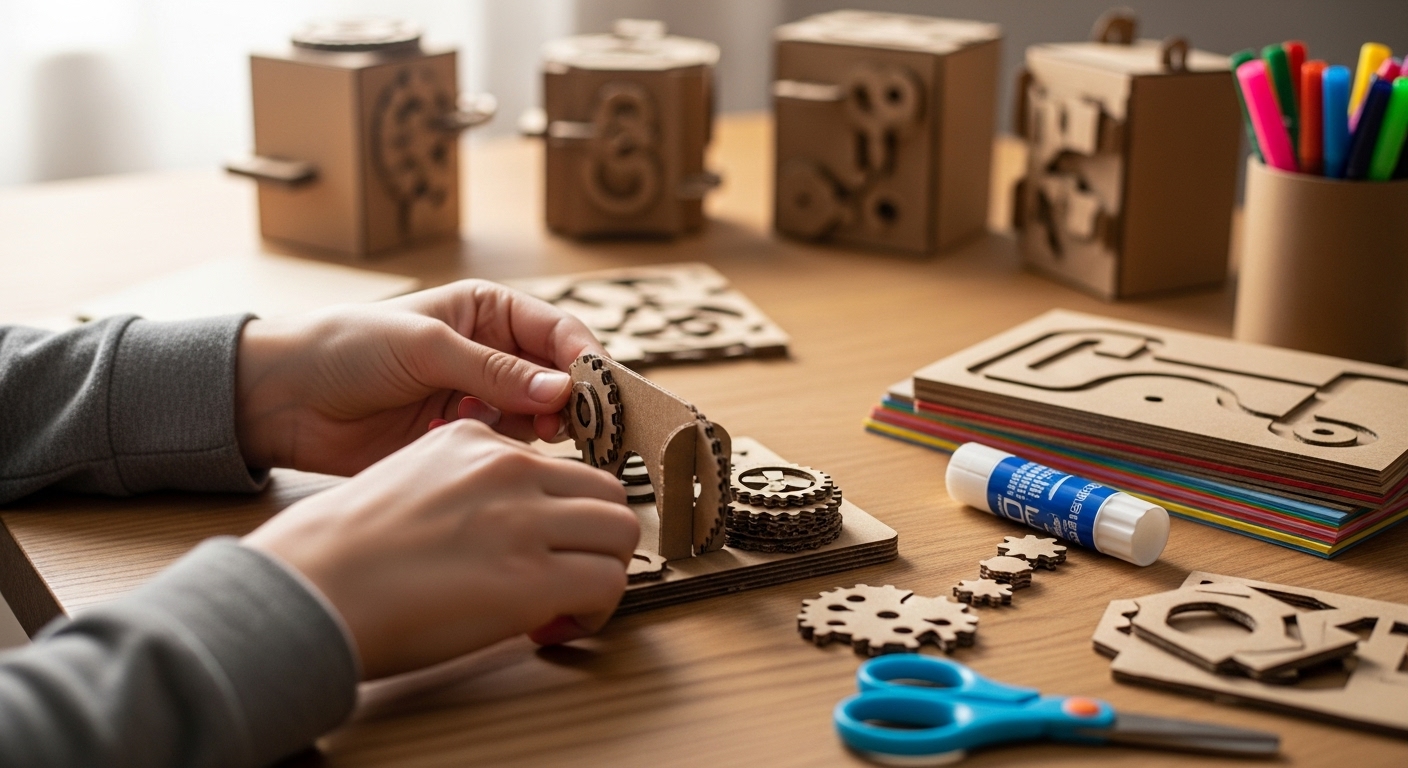
Now it’s time for the main event, creating the physical ‘robot’ that will execute your programs. This step is all about simple construction and imagination. Select a small box, perhaps a tissue box or a small food container box, to serve as the main body of your robot. This will be the piece you physically move around as it follows your code. The first task is to establish a clear ‘front’ for your robot. This is crucial for understanding direction when you start programming with ‘turn left’ and ‘turn right’ commands. You can draw a face on one side, add googly eyes, or simply draw a large arrow pointing forward. Make it obvious which way is forward. Next, give your robot some personality. Use your markers to add colors, patterns, or futuristic-looking panels. Does your robot have wheels? You can draw them on or glue on bottle caps for a 3D effect. Does it have arms? Attach some folded strips of cardboard or craft sticks to its sides. This is where your child’s creativity can truly shine. There is no right or wrong way to design the robot. The most important part is that the child feels a sense of ownership and connection to their creation. This little cardboard character is not just a toy; it is an avatar, a tangible agent that will bring their logical instructions to life in the physical world. Keep the design simple enough that it’s easy to handle and move. Once your robot is decorated and assembled, you have a physical object ready to receive its first set of instructions.
Product Recommendation:
- Kids Tool Set, Tools for Kids with Toy Drill, Toddler Tools with Tool Box and Vest, Toy Tools for Toddlers 3-5
- Educational Insights GeoSafari Jr. Talking Microscope Featuring Bindi Irwin: Microscope for Kids, STEM & Science Toy, Interactive Learning, Ages 3+
- Remote Control Car, RC Cars Toys for Kids Ages 6-12, 4WD Stunt Car with LED Lights & 360° Flips, 2.4GHz, Upgraded USB-C Modular Batteries, 8-10 Year Old Boys 1-Blue
- Melissa & Doug Wooden Scoop and Serve Ice Cream Counter With Play Food and Accessories (28 Pcs) Pretend Food, Ice Cream Toys, For Kids Ages 3+
- 6 Piece Jumbo Dinosaur Toys for Kids and Toddlers, Dinosaur Toys for Kids 3-5, Large Soft Dinosaur Toys for Dinosaur Lovers – Perfect Dinosaur Party Favors, Birthday Gifts
Creating your programming command cards
With your robot built, you now need a way to command it. This is where you create your very own programming language using simple command cards. This process directly mimics how real programmers use a specific set of commands to write software. Take a sheet of thicker paper or some spare flat cardboard and cut it into a set of equal-sized squares, perhaps three inches by three inches. These will be your individual lines of code. Now, using your markers, create your command set. The most fundamental commands you’ll need are for movement. Draw a large, clear arrow pointing up on several cards; this will be your ‘Move Forward’ command. On other cards, draw a curved arrow pointing to the left for ‘Turn Left’ and a curved arrow pointing to the right for ‘Turn Right’. It’s important to be consistent with your symbols so they are easily recognizable. You’ve just created the basic syntax of your language. You can start with about five of each command card. To make the game more interesting, you can invent more complex commands. For example, you could create a ‘Pick Up Object’ card with a drawing of a hand, or a ‘Make a Sound’ card with a speech bubble. These advanced cards introduce the idea that code can be used for more than just movement. As you create these cards, explain what each one does. This act of defining a command’s function is a core concept in programming. Lay them all out and you will see you have a physical deck of instructions, a tangible library of functions that your robot can perform. This deck is the bridge between your ideas and your robot’s actions.
Writing your first program sequence and debugging
This is the moment where logic, creativity, and play converge. It’s time to write your first program. Start with a simple objective. For example, place a small object like an eraser or a block a short distance away from your robot. The goal is to write a program that guides the robot from its starting position to the object. Now, using your command cards, lay them out in a line on the floor. This line of cards is your ‘program’ or ‘algorithm’. For instance, the sequence might be ‘Move Forward’, ‘Move Forward’, ‘Turn Right’, ‘Move Forward’. Once the program is written, it’s time to run it. Pick up your cardboard robot and execute the code, one card at a time. Read the first card, ‘Move Forward’, and move the robot one ‘step’ forward. Move to the next card, ‘Move Forward’, and move it again. Then, ‘Turn Right’, so you pivot the robot 90 degrees. Finally, ‘Move Forward’ again. Did the robot reach the target? If so, congratulations, you’ve run a successful program! But what if it didn’t? What if the robot ended up in the wrong place? This is not a failure; it is a critical part of the learning process called debugging. This is where you analyze your code to find the ‘bug’ or error. Go back through your sequence of cards. Maybe you needed an extra ‘Move Forward’ card, or perhaps a ‘Turn Left’ instead of a ‘Turn Right’. Change the cards, reset your robot, and run the program again. This cycle of writing code, testing, and debugging is the absolute essence of what programmers do every single day. It teaches resilience, critical thinking, and the idea that it’s okay to make mistakes on the way to a solution.
Expanding the challenge with mazes and functions
Once you’ve mastered simple sequences, it’s time to increase the complexity and introduce more advanced programming concepts. A fantastic way to do this is by creating a maze for your cardboard coder. On a large piece of cardboard or on the floor using masking tape, lay out a simple maze with a start and a finish. The challenge now is to write a much longer program to navigate the robot through the entire maze. This requires more planning and foresight. As you do this, you might notice repetitive patterns in your code. For example, to make a U-turn, you might always use the sequence ‘Turn Right’, ‘Turn Right’. This is a perfect opportunity to introduce the concept of a ‘function’. A function in programming is a named block of code that performs a specific task and can be reused. You can create a ‘function card’. Draw a unique symbol on a new card, maybe a star, and declare that the star card is a shortcut that means ‘Turn Right, Turn Right’. Now, whenever you need your robot to make a U-turn in your maze program, you can just use a single star card instead of two turn cards. This makes your program shorter, more efficient, and easier to read. You can create other functions for other patterns you discover, like a ‘zigzag’ function or a ‘square’ function. This simple activity powerfully demonstrates a sophisticated computer science principle in a completely accessible, hands-on way. It encourages kids to look for patterns and think more efficiently, scaling their computational thinking skills to solve bigger and more exciting problems.
From a simple collection of cardboard and markers, you have successfully built a dynamic and educational toy. You’ve journeyed through the core concepts of programming not by staring at a screen, but by building, thinking, and playing in the physical world. This cardboard coder project is a testament to the idea that the most profound learning tools are often the simplest. By creating a robot, defining commands, writing sequences, and debugging errors, your child has engaged in a complete cycle of computational thinking. They have learned to break down problems, design solutions, and persist through challenges, all while exercising their creativity. The skills practiced here extend far beyond the realm of computer science. They are life skills that foster resilience, logical reasoning, and a can-do attitude towards problem-solving. We encourage you to continue this journey. What other commands can you invent? Can you build a more complex robot with moving parts? Can you design a game with points and obstacles? The possibilities are limited only by your imagination. In a world pushing for more technology, perhaps the most innovative approach is to unplug, get our hands busy, and remember the power of play.