
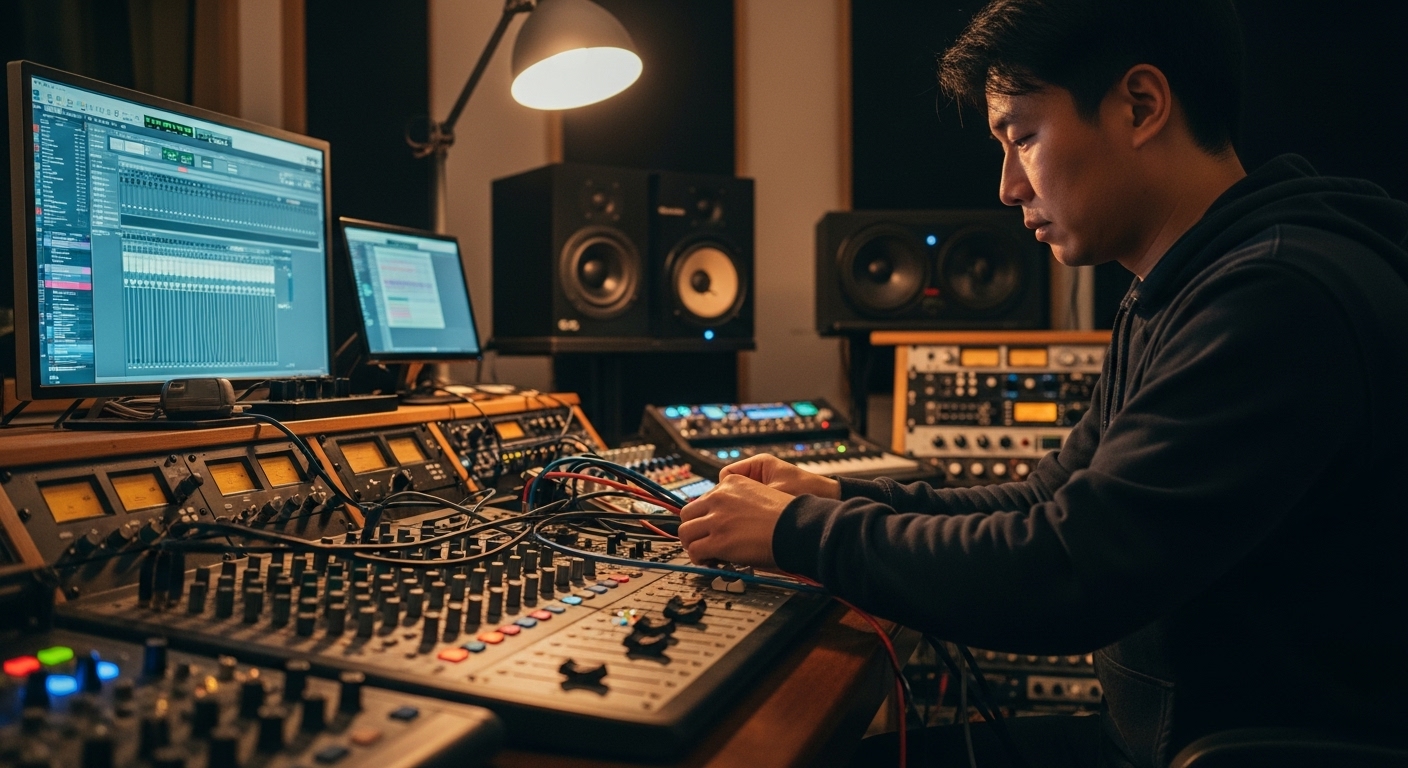
The world of music production has exploded, with home studios becoming increasingly common. But having the right equipment and knowing how to use it are two different things. If you’re ready to take your music from sounding good to sounding professional, this guide on audio upgrades and essential mixing and mastering tips is for you. We’ll explore how to optimize your home studio setup and elevate your tracks to a polished, radio-ready sound. This is especially relevant in 2025, as the demand for high-quality audio content continues to surge across platforms like Spotify, YouTube, and TikTok.
Acoustic Treatment for Optimal Sound
Before you even think about new microphones or software, address the acoustics of your room. Untreated rooms can introduce unwanted reflections and resonances, muddying your mixes. Investing in acoustic panels, bass traps, and diffusers can make a world of difference. Placement is key; start by treating first reflection points – the areas on your walls and ceiling where sound from your monitors bounces back to your ears. Experiment with different configurations to find what works best for your space. Remember, a well-treated room allows you to hear your mixes accurately, which is crucial for making informed decisions during mixing and mastering.
Consider DIY options if you’re on a budget. You can build your own acoustic panels using mineral wool insulation and fabric. Bass traps can be placed in corners to absorb low frequencies. While professional solutions offer optimized performance, DIY treatments can provide significant improvements at a fraction of the cost.
Don’t underestimate the power of simple solutions like thick curtains or rugs to absorb sound. These can be particularly useful in smaller rooms where space is limited. The goal is to create a neutral listening environment where you can accurately judge the frequency balance and stereo image of your mixes.
Microphone Upgrades for Vocal Clarity
A high-quality microphone is essential for capturing clear and detailed vocals. Consider upgrading to a condenser microphone, known for its sensitivity and ability to capture subtle nuances. Look for models with a cardioid polar pattern, which picks up sound primarily from the front, reducing unwanted background noise. Research different brands and models to find one that suits your vocal style and budget. A good microphone can make a huge difference in the overall quality of your recordings, adding warmth, clarity, and depth to your vocals.
Pair your new microphone with a quality pop filter and shock mount. A pop filter reduces plosives (those harsh ‘p’ and ‘b’ sounds), while a shock mount isolates the microphone from vibrations, preventing unwanted rumble and noise. These accessories are inexpensive yet essential for achieving professional-sounding vocal recordings.
Experiment with microphone placement to find the sweet spot for your voice. Small adjustments in distance and angle can significantly impact the tone and clarity of your recordings. Record yourself singing or speaking at different positions and listen back critically to identify the position that captures your voice most accurately and pleasingly.
Software Plugins for Enhanced Mixing
Software plugins are the backbone of modern music mixing. Explore plugins for EQ, compression, reverb, and delay to shape and enhance your sounds. Experiment with different plugins to find those that suit your workflow and sonic preferences. There are countless options available, both free and paid, so take the time to research and demo different plugins before making a purchase. Some popular choices include FabFilter Pro-Q 3 for EQ, Waves CLA-2A for compression, and ValhallaRoom for reverb. Learning how to use these tools effectively is crucial for achieving professional-sounding mixes.
Don’t fall into the trap of using too many plugins. Often, less is more. Focus on using plugins purposefully to address specific issues or enhance particular aspects of your sounds. Over-processing can lead to a muddy and unnatural sound. Train your ears to identify problems and use plugins to solve them subtly and effectively.
Pay attention to gain staging throughout your mixing process. Proper gain staging ensures that your signals are at optimal levels at each stage, preventing clipping and maximizing headroom. Use a gain plugin or your mixer’s gain controls to adjust the levels of your tracks before they hit your plugins. This will help you achieve a cleaner and more dynamic mix.
Product Recommendation:
- Otamatone Deluxe Batman Electronic Musical Instrument for Adults Portable Synthesizer Digital Electric Music from Japan by Maywa Denki Cool Stuff Gifts [English Instructions]
- Acrylic Kalimba Thumb Piano,YUNDIE Portable 17 Keys Mbira Crystal Finger Piano, Musical Instruments Birthday Gift for Kid Adult Beginners Professional(Clear) (17 Keys)
- Ukulele, AKLOT Concert Ukelele Solid Mahogany 23 inch for Professional Beginners Adults Kit with Free Online Courses and Uke Accessories, AKC23
- Stylophone The Original Pocket Electronic Synthesizer | Synth Musical Instrument | Synthesizer Keyboard | Stylophone Instrument Synth
- BESPORTBLE 1set Plastic Beginner Clarinets for Adults Wind Instrument Music Practice Tool Easy to Use and Promote Musical Skills 2pcs
Mastering Techniques for Polished Sound
Mastering is the final stage of the music production process, where you optimize your mix for distribution. Focus on achieving a balanced frequency response, maximizing loudness, and creating a cohesive listening experience. Invest in mastering plugins such as limiters, equalizers, and stereo imagers to fine-tune your tracks. Consider hiring a professional mastering engineer if you’re unsure about the process. A fresh set of ears can often identify issues that you might have missed, resulting in a more polished and professional-sounding master.
Pay attention to the overall loudness of your master. Streaming platforms like Spotify and Apple Music have specific loudness targets, and exceeding these targets can result in your music being turned down automatically. Aim for a loudness level that is competitive with other tracks in your genre while avoiding excessive compression and clipping.
Create a listening environment that is conducive to critical listening. Use high-quality headphones or monitors in a well-treated room. Take frequent breaks to avoid ear fatigue. Listen to your masters on different systems to get a sense of how they will sound on various playback devices. This will help you identify any potential issues and make necessary adjustments.
Headphone and Monitor Calibration
Accurate monitoring is paramount for making informed mixing decisions. Invest in a pair of high-quality studio headphones or monitors that provide a flat frequency response. Calibrate your headphones or monitors using software like Sonarworks Reference to compensate for any inherent coloration. This will ensure that you’re hearing your mixes accurately, allowing you to make precise adjustments and achieve a balanced sound.
Experiment with different headphone and monitor placements to find the sweet spot for your listening position. The angle and distance between your speakers and your ears can significantly impact the stereo image and frequency response. Use a measuring tape and an SPL meter to ensure that your speakers are properly positioned and calibrated.
Regularly check your mixes on different headphones and speakers to get a sense of how they will sound on various playback devices. This will help you identify any potential issues and make necessary adjustments. Pay attention to the bass response, stereo image, and overall clarity of your mixes on each system.
DAW Workflow Optimization
Your digital audio workstation (DAW) is the heart of your home studio. Optimize your workflow by customizing your DAW’s settings, creating templates, and learning keyboard shortcuts. This will help you work more efficiently and creatively. Explore advanced features such as automation, routing, and sidechaining to add depth and dynamics to your mixes. The more comfortable you are with your DAW, the more effectively you can translate your ideas into reality.
Organize your projects meticulously to avoid confusion and wasted time. Use clear and consistent naming conventions for your tracks, folders, and files. Color-code your tracks to visually differentiate between different instrument groups. Create backups of your projects regularly to prevent data loss. A well-organized project is a productive project.
Take advantage of your DAW’s built-in features for collaboration. Share your projects with other musicians and producers to get feedback and collaborate on new ideas. Use cloud-based storage services to easily share files and collaborate remotely. Collaboration can spark new creative ideas and help you improve your skills.
By upgrading your audio equipment and mastering essential mixing and mastering techniques, you can transform your home studio into a professional-sounding production environment. Remember to prioritize acoustic treatment, invest in quality microphones and software plugins, and optimize your DAW workflow. With dedication and practice, you can elevate your music to new heights and achieve the polished, radio-ready sound you’ve always dreamed of. The future of music production is in your hands – embrace the possibilities and create something amazing.