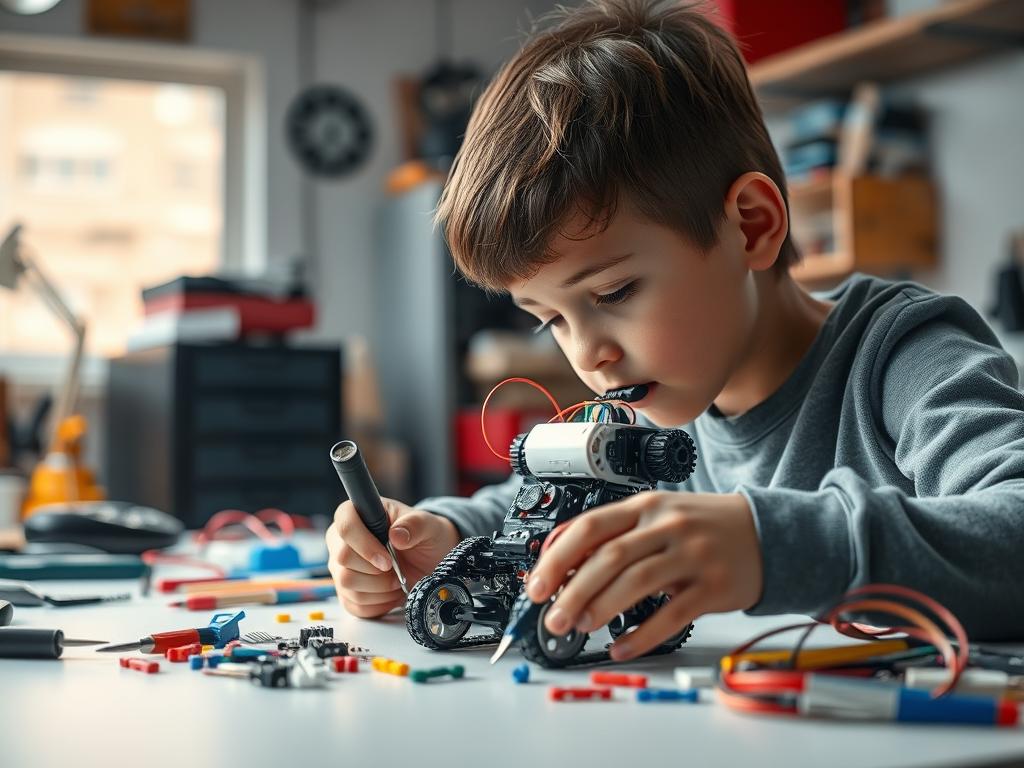
The world of toys is constantly evolving. What was once simple plastic molded into basic shapes has transformed into sophisticated gadgets with interactive features and complex functionalities. In 2025, toy hacking is no longer just about taking things apart; it’s about enhancing, customizing, and breathing new life into beloved playthings. This isn’t just child’s play; it’s a creative outlet for adults and a fantastic educational opportunity for kids to learn about electronics, programming, and design.
Toy hacking is increasingly relevant as parents and educators seek ways to encourage STEM learning and imaginative play. Recent trends show a growing interest in open-source toys and DIY kits that allow users to modify and personalize their play experiences. From adding sensors and lights to repurposing discarded toys into something entirely new, the possibilities are limited only by imagination.
In this blog post, we’ll explore the essential DIY upgrades that can transform ordinary toys into extraordinary play experiences. We’ll cover everything from basic electronic modifications to advanced programming techniques, providing you with the knowledge and inspiration to embark on your own toy hacking adventures. Get ready to unleash your inner engineer and transform the way you play!
Basic Electronic Upgrades for Toys
One of the simplest ways to enhance a toy is by adding basic electronic components. Think LEDs for glowing eyes, small motors for movement, or even sound modules for added effects. These upgrades are relatively easy to implement and can dramatically change the way a toy looks and feels.
For example, adding an LED to a stuffed animal’s eyes can make it more engaging and interactive, especially in low-light environments. Similarly, a small motor can bring a static toy car to life, allowing it to move and explore its surroundings. These modifications not only make the toy more fun but also introduce children to basic concepts of electronics and circuitry.
Before you start, gather some essential tools such as a soldering iron, wire strippers, and a multimeter. You’ll also need basic electronic components like LEDs, resistors, and small motors. Remember to always work in a well-ventilated area and take necessary safety precautions when using soldering irons or other tools. Start with simple projects and gradually increase the complexity as you gain confidence and experience. A great starting point is modifying an old toy car with a new paint job and adding LED headlights powered by a small battery pack.
Remember, safety first! Always supervise children when they are working with electronics and ensure that all connections are secure and properly insulated.
Adding Sensors and Interactive Features
Taking toy hacking to the next level involves adding sensors and interactive features. This could include light sensors, motion sensors, or even touch sensors that trigger different actions or responses from the toy. These upgrades can make toys more responsive and engaging, creating a more immersive play experience.
For instance, you could add a light sensor to a toy that causes it to react when exposed to light. This could be as simple as turning on a light or playing a sound. Alternatively, a motion sensor could trigger a toy to move or speak when someone approaches it. Touch sensors can be used to create interactive games or puzzles that require physical interaction with the toy.
To implement these upgrades, you’ll need a microcontroller like an Arduino or Raspberry Pi. These small, inexpensive computers can be programmed to control the sensors and trigger different actions based on the sensor readings. There are countless online tutorials and resources available that can guide you through the process of programming these microcontrollers and interfacing them with various sensors. One popular project is creating a toy robot that responds to voice commands or gestures.
The beauty of toy hacking is that it allows you to combine creativity with technology, resulting in unique and personalized play experiences. – Expert Toy Hacker
Repurposing and Upcycling Old Toys
One of the most sustainable and creative aspects of toy hacking is repurposing and upcycling old toys. Instead of throwing away broken or unwanted toys, you can transform them into something entirely new and exciting. This not only reduces waste but also encourages creativity and resourcefulness.
For example, you could take apart an old toy car and use its wheels and chassis to build a miniature robot. Alternatively, you could combine different parts from various toys to create a Frankenstein-esque creation that is entirely unique. The possibilities are endless.
When repurposing toys, consider the materials and components that you can salvage and reuse. Motors, gears, LEDs, and sensors can all be repurposed for new projects. You can also use the plastic shells and casings of old toys to create new enclosures or housings for your creations. Remember to clean and sanitize any used components before incorporating them into your projects.
Upcycling toys is not just about saving money; it’s about promoting sustainability and reducing our environmental impact.
Product Recommendation:
- John Deere Bubble Leaf Blower Toy for Kids Includes 24oz Bubble Refill Gas Can, Outdoor Bubble Machine for Kids, Easy to Use, Outdoor Play, Great Gift Toddler 3+
- 1000 Pcs Kids Party Favors Stocking Stuffers Gifts,Fidgets Toys Pack,Bulk Toys for Carnival Treasure Classroom Prizes Box,Adults Stress Relief Sensory Toys,Pinata Filler, Autism Autistic Children ADHD
- Voice Changer for Kids – Gifts for Kids – Voice Changing Device for Boys & Girls Ages 3-8+ Olds – Birthday Gifts for 3, 4, 5, 7, 8 Year Old Boy – Cool Outdoor Toys Gift Ideas for Kid, Toddler
- Sundaymot Doctor Kit for Kids, 34 Pcs Pretend Playset for Toddlers, Doctor kit for Toddlers 3-5, with Medical Bag, Stethoscope and Other Accessories, for Boys and Girls Fun Role Playing Game
- Pop Fidget Toys Bulk Its Party Favors for Kids 4-8 8-12 30 Pack Mini Pop Keychain It Fidget Toy Fidgets for Classroom Prizes for Kids End of Year Student Gifts Carnival Birthday Goodie Bag Stuffers
Advanced Programming Techniques for Toy Hacking
For those who want to take their toy hacking skills to the next level, advanced programming techniques offer a world of possibilities. This could involve writing custom code to control the behavior of toys, creating interactive games, or even integrating toys with the internet.
One popular technique is using programming languages like Python or JavaScript to control microcontrollers like Arduino or Raspberry Pi. These languages allow you to write complex code that can control the sensors, motors, and other components of a toy. You can also use these languages to create interactive games or simulations that are controlled by the toy.
Another advanced technique is integrating toys with the internet. This could involve connecting a toy to a Wi-Fi network and using it to control other devices or access online data. For example, you could create a toy that displays weather information or controls the lights in your home. The possibilities are truly endless.
Toy hacking is a gateway to learning about electronics, programming, and design. It’s a fun and engaging way to develop valuable skills that can be applied to a wide range of fields. – STEM Educator
3D Printing Custom Parts and Accessories
3D printing has revolutionized the world of toy hacking, allowing you to create custom parts and accessories that are tailored to your specific projects. This opens up a whole new level of customization and creativity, allowing you to design and print anything from new enclosures and housings to custom gears and connectors.
With a 3D printer, you can create custom parts that are perfectly sized and shaped for your toys. This is especially useful when repurposing old toys or building entirely new creations. You can also use 3D printing to create custom accessories that enhance the functionality or appearance of your toys. For example, you could print a new set of wheels for a toy car or a custom enclosure for a microcontroller.
To get started with 3D printing, you’ll need a 3D printer and some basic 3D modeling software. There are many free and open-source software options available that can help you design your parts. Once you’ve created your design, you can print it using your 3D printer. Remember to experiment with different materials and settings to achieve the best results.
3D printing empowers toy hackers to create truly unique and personalized play experiences.
Safety Considerations and Best Practices
While toy hacking can be a fun and rewarding activity, it’s important to prioritize safety and follow best practices. This includes taking necessary precautions when working with electronics, using appropriate tools and materials, and supervising children when they are involved in toy hacking projects.
When working with electronics, always disconnect the power source before making any modifications. Use appropriate soldering techniques and ensure that all connections are secure and properly insulated. Avoid using excessive force when disassembling or reassembling toys, as this can damage the components or create safety hazards.
When working with tools, always wear appropriate safety gear such as safety glasses and gloves. Use sharp tools with caution and avoid working in cluttered or poorly lit areas. Supervise children closely when they are involved in toy hacking projects and ensure that they understand the potential risks and hazards.
Toy hacking should be a fun and educational experience. By following safety guidelines and best practices, you can minimize the risks and maximize the rewards. – Safety Advocate
Toy hacking is more than just a hobby; it’s a gateway to creativity, innovation, and learning. By embracing the DIY spirit and exploring the possibilities of toy modification, you can unlock a world of fun and educational experiences. Whether you’re adding LEDs to a stuffed animal, repurposing old toys into something new, or programming a toy robot to perform complex tasks, the possibilities are endless.
As technology continues to evolve, toy hacking will only become more accessible and exciting. With the rise of open-source hardware, affordable microcontrollers, and user-friendly programming languages, anyone can become a toy hacker. So, grab your tools, gather your inspiration, and get ready to transform the way you play!

